
Your paver patio is one of the more visible investments on your property and keeping it in good shape over the years takes more than occasional cleaning.
This guide covers what paver sealing actually does, how to decide if your patio needs it, and how to apply it correctly.
You will also find clear comparisons between DIY and professional options, common mistakes to avoid, and practical maintenance advice.
What is Paver Patio Sealing?
Paver patio sealing is the process of applying a protective coating to the surface of your pavers to guard against stains, moisture, UV fading, and weed growth in the joints. Depending on the product used, it can also enhance the natural colour of the stone or brick.
There are two main sealer categories, and they work differently on the surface.
Penetrating vs. Topical Sealers
Penetrating sealers absorb into the paver material and create an invisible barrier from within. They do not change the surface appearance and allow the paver to breathe. Topical sealers sit on top of the surface and form a visible film that can add a wet or glossy finish.
| Sealer Type | Pros | Cons | Longevity |
| Penetrating | No change to appearance, breathable, low maintenance | Less stain protection on the surface | 5 to 10 years |
| Topical (Matte) | Moderate sheen, good stain resistance | Can trap moisture if applied incorrectly | 2 to 4 years |
| Topical (Glossy) | Strong colour enhancement, high stain protection | Slippery when wet, shows wear more visibly | 2 to 3 years |
| Solvent-Based | Deep penetration, durable finish | Strong fumes, longer curing time | 3 to 5 years |
| Water-Based | Low odour, eco-friendlier, easier application | May require more frequent reapplication | 2 to 4 years |
Common Misconceptions About Sealing
Many homeowners go into sealing with assumptions that lead to poor results or unnecessary spending. Here are the most common ones.
| Misconception | The Reality |
| All paver patios must be sealed | Sealing is beneficial but not mandatory for every material or climate |
| Sealing prevents all stains and damage | It reduces risk but does not make pavers completely stain-proof |
| You only need to seal once | Most sealers require reapplication every 2 to 5 years depending on traffic and exposure |
| Sealing always changes the colour | Penetrating sealers are designed to be invisible and do not alter appearance |
| Any sealer works on any paver | Different materials require specific sealer formulas — using the wrong one causes problems |
Do I Need to Seal My Paver Patio?
The answer depends on your paver material, your local climate, how much foot traffic the area gets, and what you want the patio to look like long-term.
If your patio uses natural stone or concrete and sits in a region with harsh winters, sealing is strongly recommended.
For those in Michigan specifically, it pairs well with choosing the best pavers for cold climates in Michigan from the start, since the right combination of material and sealer adds significant protection against freeze-thaw damage.
Material Considerations: Concrete, Brick, Natural Stone
Each paver material reacts differently to sealers and has different levels of natural protection against moisture and staining.
| Material | Sealing Recommended? | Best Sealer Type | Primary Reason |
| Concrete Pavers | Yes | Penetrating or topical | Porous surface absorbs stains and moisture easily |
| Brick Pavers | Optional to recommended | Penetrating | Naturally durable but benefits from joint sand protection |
| Natural Stone (granite) | Yes | Penetrating only | Porous stone; topical sealers can damage the surface |
| Natural Stone (limestone) | Strongly recommended | Penetrating | Highly porous and vulnerable to acid stains |
| Porcelain Pavers | Usually not needed | None typically | Near-zero porosity; sealers offer minimal benefit |
Climate and Exposure Factors
Climate is one of the strongest indicators of whether sealing is necessary. Freeze-thaw cycles force water into paver pores, which then expands as it freezes and gradually breaks the material from the inside.
UV exposure in high-sun regions accelerates colour fading, particularly in concrete pavers with surface-only pigment. Heavy rainfall in humid areas promotes mold and moss growth in the joints, which sealing helps slow down.
| Climate Type | Sealing Necessity | Key Risk Without Sealing |
| Freeze-thaw zones (e.g. Michigan) | Strongly recommended | Internal cracking, heave, moisture damage |
| High UV / hot and dry | Recommended | Colour fading, surface degradation |
| High rainfall / humid | Recommended | Moss, mould, joint erosion |
| Mild / temperate | Optional | Minor staining, gradual weathering |
| Coastal / salt air | Recommended | Salt crystallisation and surface pitting |
Usage and Traffic Patterns
A patio used daily for outdoor dining, kids’ play areas, or pool access takes far more punishment than a decorative garden path. High-traffic surfaces stain faster, wear the joint sand down quicker, and show fading sooner.
Pool surround areas are particularly vulnerable. Chlorinated water, sunscreen residue, and constant moisture create ideal conditions for staining. Sealing a pool patio is one of the higher-value applications in residential hardscape maintenance.
Step-by-Step Guide to Sealing Your Patio
Done correctly, sealing is a manageable weekend project for most homeowners. The preparation stage matters more than the application itself. Properly cleaned and dry patio determines whether the sealer bonds well and lasts.
| Stage | Task | Key Detail |
| 1. Inspection | Check for cracks, sunken areas, weeds | Repair before sealing — do not seal over problems |
| 2. Cleaning | Pressure wash the entire surface | Use 1500 to 2000 PSI; avoid high-heat settings on brick |
| 3. Stain Removal | Treat oil, rust, or organic stains | Use material-specific cleaners; rinse thoroughly |
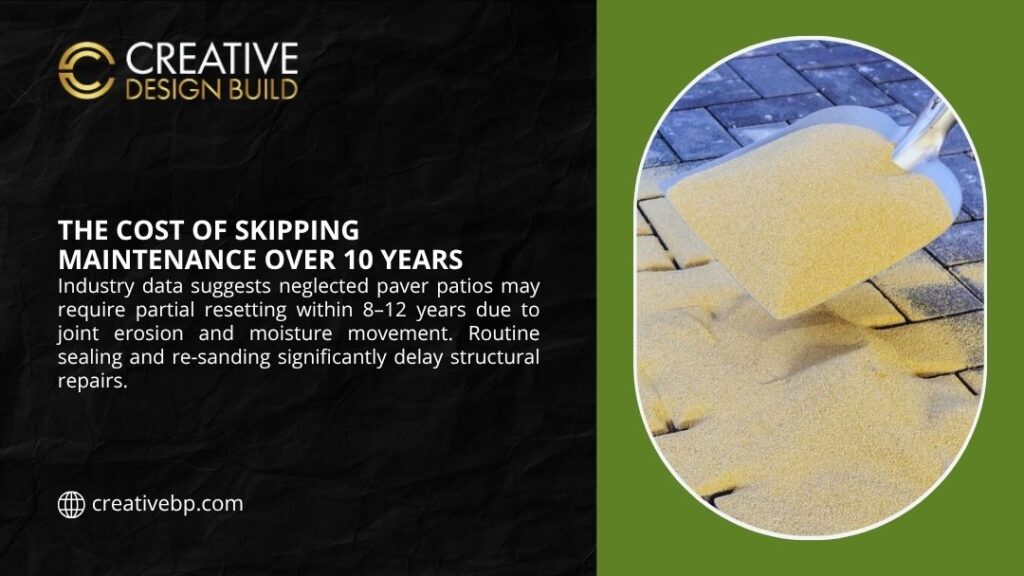
| 4. Joint Sand | Reapply polymeric sand to joints if needed | Let it fully dry before sealing |
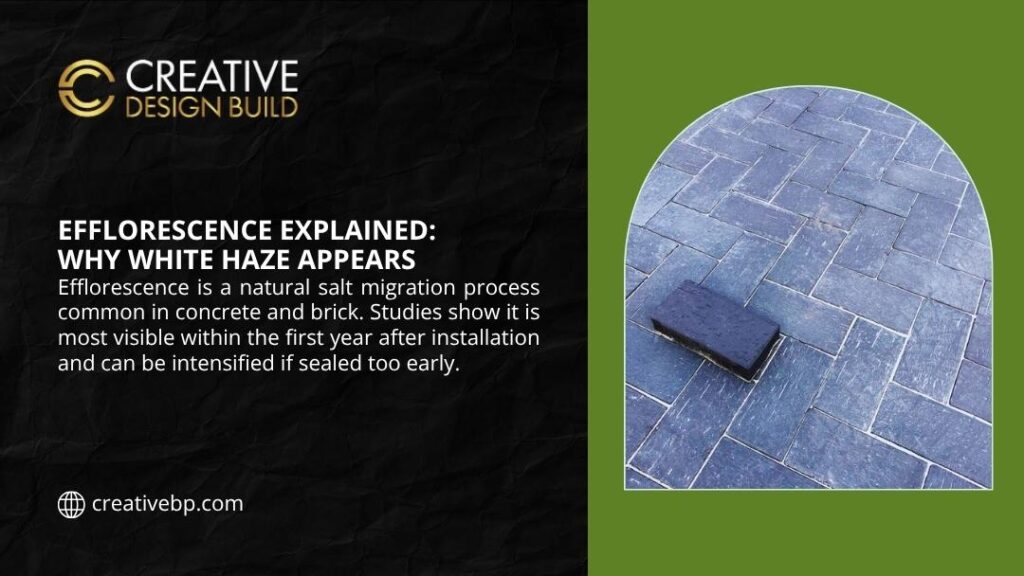
| 5. Drying Time | Allow 24 to 48 hours after cleaning | Moisture trapped under sealer causes whitening (efflorescence) |
| 6. Application | Apply sealer with roller or sprayer | Work in sections; avoid overlapping wet edges |
| 7. Second Coat | Apply if recommended by manufacturer | Wait minimum time between coats (usually 1 to 2 hours) |
| 8. Curing | Keep off the surface for 24 to 72 hours | Avoid rain contact during curing period |
Preparing the Patio
Start with a thorough inspection. Look for cracked or sunken pavers, weeds growing through joints, and any areas where joint sand has washed away. Sealing over these issues locks them in and makes future repairs harder.
Weeds in the joints are a common issue before sealing.
If you are dealing with persistent growth, it is worth addressing how to stop weeds growing between pavers and cover the most effective methods before you move on to sealing.
After clearing weeds and repairing damage, pressure wash the entire patio. Allow a full 24 to 48 hours of dry time before applying any sealer. This step is non-negotiable.
Applying the Sealer
Apply sealer on a dry day with no rain forecast for at least 24 hours. Temperatures between 50°F and 90°F give the best results. Avoid direct sunlight during application if possible.
Use a low-pressure sprayer or a short-nap roller for even coverage. Work in manageable sections of around 50 square feet at a time. Apply thin, even coats rather than one heavy coat. Thick application leads to bubbling, peeling, and a blotchy finish.
Post-Application Care
Keep foot traffic off the patio for at least 24 hours after the final coat. Vehicle access should wait 72 hours. During the curing period, any moisture contact (including dew) can disrupt the film and cause cloudiness.
From our experience with residential projects, most concrete and brick paver patios benefit from resealing every 2 to 3 years under normal conditions. High-traffic or pool-adjacent areas may need attention every 18 to 24 months.
DIY vs. Professional Sealing
Should you tackle sealing yourself or call in the pros? Both options work, and the right choice depends on the size of your patio, the type of pavers, and your confidence with the process.
| Factor | DIY | Professional |
| Time | Full weekend including prep and drying | Half day to full day — they handle everything |
| Expertise Required | Moderate — prep is critical | High — correct product selection and application |
| Equipment | Rental or purchase of sprayer/roller | Commercial-grade sprayers and cleaners |
| Risk of Error | Moderate (streaking, whitening if rushed) | Low when using a reputable contractor |
| Longevity | 2 to 3 years typical with DIY application | 3 to 5 years with professional-grade sealers |
When DIY Works Best
DIY sealing is a reasonable option for most homeowners when the patio is small to medium in size (under 500 square feet), the pavers are standard concrete or brick, and the surface is in good condition with no major repairs needed.
The key is patience with the preparation. Rushing the drying time or skipping the stain treatment step accounts for most failed DIY sealing jobs.
DIY is a good fit when:
- The patio is in good structural condition with no sunken or cracked pavers
- You have a full weekend available for prep, application, and drying
- The material is standard concrete or brick — not natural stone or specialty pavers
- You are comfortable with basic tools like a pressure washer and roller
When Professionals Are Recommended
Large patios, natural stone surfaces, and commercial spaces benefit significantly from professional application. Specialty sealers for limestone, travertine, or granite require specific expertise.
If your patio has also been showing signs of structural issues like settlement or shifting, it is worth addressing those first.
Why is my paver patio sinking explains the most common causes and whether repair or full reinstallation makes more sense before you invest in sealing.
Common Sealing Mistakes and How to Avoid Them
Even small mistakes can compromise your patio’s look and durability. Most sealing problems trace back to skipped preparation steps or incorrect product selection rather than poor application technique.
| Mistake | What Goes Wrong | How to Avoid It |
| Sealing too soon after installation | New pavers off-gas salts that get trapped under sealer, causing whitening | Wait at least 60 to 90 days after new paver installation |
| Sealing over a wet surface | Moisture trapped beneath the sealer causes cloudiness and peeling | Allow 24 to 48 hours of dry time after any cleaning or rain |
| Applying too thick a coat | Bubbling, streaking, and uneven sheen | Multiple thin coats are always better than one heavy coat |
| Using the wrong sealer for the material | Topical sealers on natural stone can block the pores and cause flaking | Always match sealer type to paver material — check manufacturer specs |
| Ignoring joint sand before sealing | Sealer fills gaps improperly, locks in weed seeds, reduces bond quality | Re-sand joints with polymeric sand and let it cure fully first |
FAQs About Patio Sealing
Do I need to seal my paver patio?
Not always, but in most cases it extends the life of your pavers and reduces maintenance. Concrete and natural stone pavers benefit most from sealing. Porcelain pavers typically do not need it.
How often should I seal my patio?
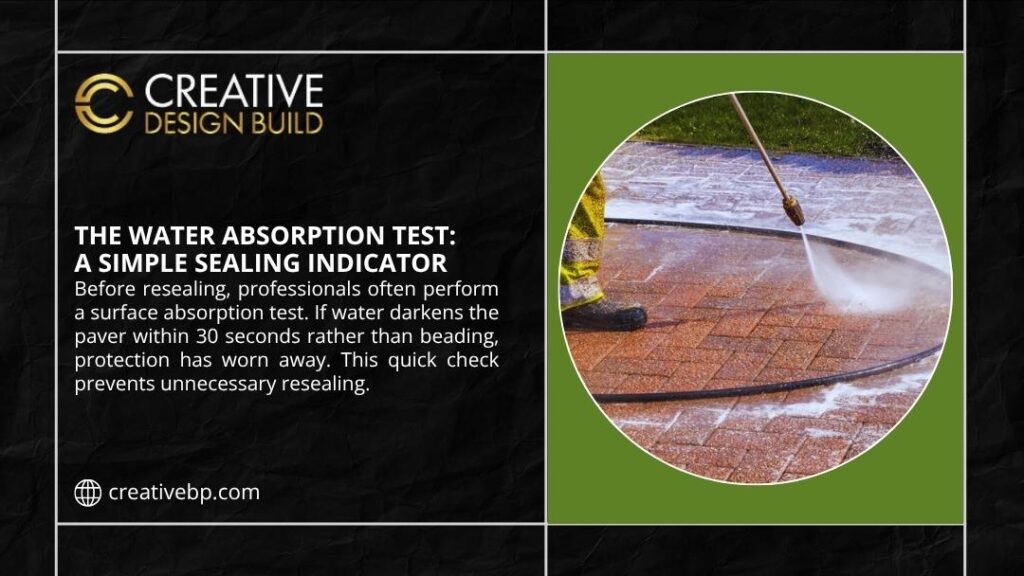
Every 2 to 3 years for most residential patios under standard conditions. High-traffic areas or pool surrounds may need resealing every 18 to 24 months. A simple test: pour a small amount of water on the surface. If it absorbs rather than beads, the sealer has worn off.
Will sealing change the colour or texture of my pavers?
Penetrating sealers are designed to be invisible and do not change appearance. Topical sealers with a wet-look or glossy finish will deepen the colour and add sheen. Always test a small area first, particularly on natural stone, to confirm the result before full application.
How long does sealing last?
Penetrating sealers typically last 5 to 10 years. Topical sealers last 2 to 4 years depending on foot traffic, UV exposure, and maintenance. Professional-grade products applied correctly generally outlast consumer products by 1 to 2 years.
Does sealing pavers prevent weeds?
Sealing the joints with polymeric sand before applying sealer significantly reduces weed growth by limiting the gaps where seeds can take hold. The sealer itself does not kill weeds or prevent all growth, but it does make the joint environment less hospitable for them.
Key Takeaway
Sealing is not a requirement for every paver patio, but it is one of the more cost-effective maintenance steps available to homeowners. The right sealer, applied to a properly prepared surface, extends paver life, protects colour, and reduces the frequency of cleaning and repairs.
If you want to understand the full expected lifespan of your patio before deciding on a sealing schedule, how long do paver patios last gives a clear breakdown by material and maintenance level.
Focus on preparation first. A clean, dry, structurally sound surface sealed with the correct product will outperform a rushed job on a premium patio every time.
Partner with Experts in Outdoor Surface Design and Installation
At Creative Design Build Associates, we design and build paver patios across Southeast Michigan.
We know what it takes to keep them performing for decades. From material selection and installation to sealing and long-term maintenance, our team handles every stage with the same attention to detail.
If your patio needs a professional assessment, repair work before sealing, or a full design and build from scratch, we are available to help. Our Birmingham, Michigan office serves residential and commercial clients throughout the region.
Contact Creative Design Build Associates to discuss your project.