
Your paver patio looked perfect when contractors finished the installation. Now sections have dropped several inches, water pools after rain, and the surface feels uneven underfoot.
The question “why is my paver patio sinking” comes up frequently among Michigan homeowners, and the answer usually points to one of several preventable installation or maintenance issues.
4 Main Reasons Why Paver Patios Sink
Paver patios sink when the supporting layers beneath them compress, shift, or wash away. The pavers themselves rarely cause the problem. The base preparation, soil conditions, and drainage systems determine whether your patio stays level or develops low spots over time.
Most settling happens within the first two years after installation. Contractors who rush base preparation or skip proper compaction create patios that sink as soon as weather and foot traffic test the foundation.
- Poor Base Compaction
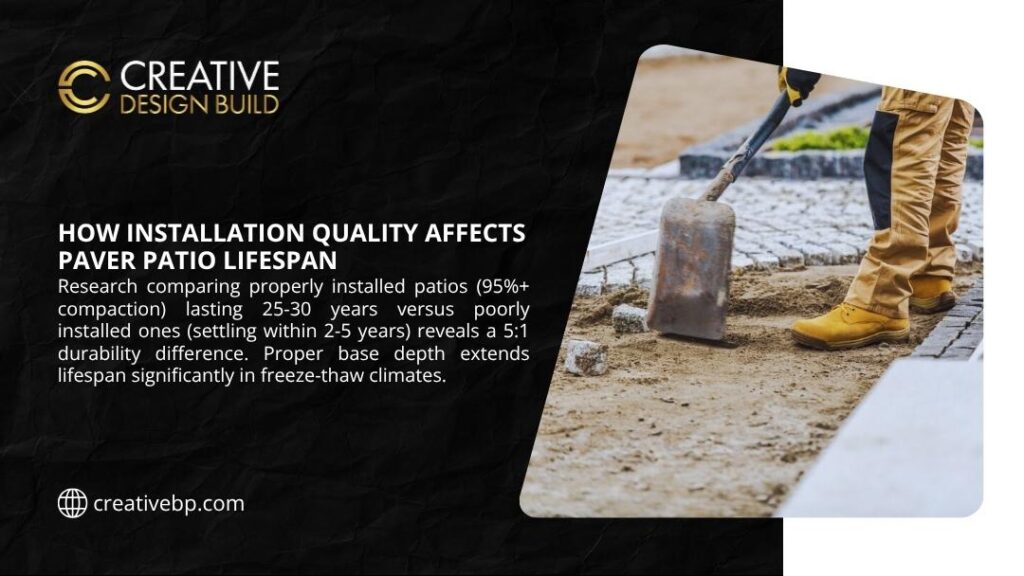
The base layer supports the entire patio. This layer typically consists of 6 to 8 inches of crushed stone compacted in 2 to 3 inch lifts. Each lift requires mechanical compaction to achieve 95% or higher density.
Contractors who skip lifts or use inadequate equipment leave air pockets that collapse under load.
From our experience with repair projects across Southeast Michigan, most of the sunken patios trace back to inadequate base compaction. The contractors may have installed the correct depth but failed to compact properly between layers.
| Base Preparation Issue | How It Causes Sinking | Timeline for Problems | Repair Difficulty |
| Inadequate compaction | Air pockets collapse under weight | 6-24 months | Moderate to severe |
| Insufficient base depth | Frost heave, soil compression | 1-3 years | Severe |
| Wrong aggregate size | Poor drainage, shifting | 1-5 years | Moderate |
| No geotextile fabric | Base mixes with soil | 2-10 years | Moderate |
Hand tampers cannot achieve proper compaction for patio bases. Plate compactors rated at 5,000 pounds or more provide the force needed to eliminate voids. Some contractors use lighter equipment or rely on “natural settling” that guarantees future problems.
- Inadequate Base Depth
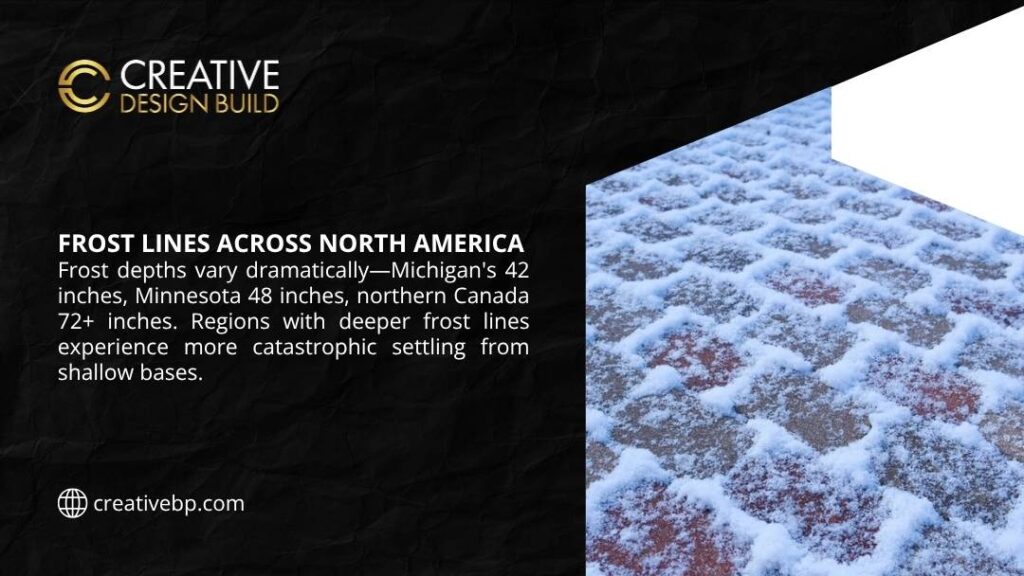
Michigan’s 42-inch frost line demands deep excavation. A proper paver patio base extends below this frost line to prevent heave. Many contractors cut corners by excavating only 8 to 12 inches total, which leaves the base vulnerable to frost movement.
Shallow bases sink as freeze-thaw cycles push soil upward in winter and allow settling in spring. The cycle repeats each year and progressively worsens the damage. Best pavers for cold climate in Michigan installations always include proper depth specifications to prevent this issue.
Soil type affects required base depth. Clay soils hold water and expand when frozen. Sandy soils drain better but compact differently under load. Contractors should test soil conditions and adjust base specifications accordingly.
- Drainage System Failures
Water represents the enemy of stable paver bases. When water accumulates under pavers, it softens soil and washes away base materials. The resulting voids cause immediate sinking in affected areas.
Patios without proper slope allow water to pool on the surface. That water eventually penetrates joints and saturates the base. Even small amounts of standing water can cause major problems over months or years.
Common drainage failures include:
- Improper slope (less than 2% grade away from structures)
- Missing or clogged edge drains
- Downspouts directing water onto patio surface
- Clay soil without drainage amendments
- No provision for subsurface water movement
The paver patio cost per square foot in Michigan reflects proper drainage installation. Cutting these costs during installation leads to expensive repairs later.
- Soil Settlement and Compression
Newly disturbed soil compresses over time as air and water work through the material. Contractors who install patios on recently graded or filled areas often see settlement as the soil beneath the base layer compresses.
Organic material in soil breaks down and creates voids. Tree roots, old mulch, or buried vegetation decompose and leave gaps that allow the base to sink. Proper site preparation removes all organic material before base installation begins.
Some soils compress more than others. Silty soils and loose sandy soils compact significantly under load. Clay soils expand and contract with moisture changes. Each soil type requires specific base preparation methods to prevent long-term settlement.
How to Identify Why Your Patio Is Sinking
Visual inspection reveals clues about the cause. Large areas that sink uniformly often indicate base compression or soil issues affecting the entire patio. Isolated low spots near edges or in specific zones point to localized base failures or drainage problems.
Water accumulation patterns tell important stories. Puddles that form in the same spots after rain show where the patio has settled most. Check whether water flows toward or away from your home. Patios sloping toward foundations create moisture problems beyond just the patio itself.
Signs of Base Failure
- Gaps between pavers and surrounding landscape: If a 4-inch gap appears between paver edges and adjacent grass or soil, it indicates that the entire patio has settled significantly.
- Pavers that rock or move when walked on: Stable pavers sit firmly on their sand bed. If pavers shift or wobble underfoot, it’s a sign that the sand layer has washed away or the base has developed voids.
- Joint sand issues: Inspect the joint sand between pavers. Empty joints or sand that has washed out completely allow water to penetrate to the base, accelerating deterioration and causing further settling.
Drainage Problem Indicators
Water stains on paver surfaces show where puddles form regularly. These stains appear as dark discoloration or mineral deposits. The stained areas typically correspond to the lowest points in your patio.
Moss or algae growth concentrates in areas with persistent moisture. These organic growths need consistent water to survive. Their presence confirms drainage inadequacy in those zones.
Observe water flow during rain. Does water sheet across the patio surface toward edges, or does it pond in multiple low spots? Does water drain away from the patio quickly or does it sit for hours after rain stops?
| Symptom | Likely Cause | Urgency Level |
| Uniform settling across entire patio | Soil compression, inadequate base depth | Moderate |
| Isolated low spots | Localized base failure, drainage issues | High |
| Pavers rocking or loose | Sand layer washout, base voids | High |
| Water pooling near foundation | Improper slope, drainage failure | Critical |
| Gaps between pavers widening | Base shifting, frost heave | Moderate |
Prevention Strategies That Actually Work
Proper initial installation prevents most patio settling issues. Invest in contractors who specify deep bases, use mechanical compaction, and install drainage systems. The extra cost during installation eliminates expensive repairs later.
From our work with residential projects, these installation practices prevent settling:
- Excavate to 42+ inches below finished surface
- Install geotextile fabric between native soil and base
- Use crushed stone aggregate sized between 3/4 inch and fine dust
- Compact base in 2 to 3 inch lifts with plate compactor
- Create minimum 2% slope away from structures
- Install edge restraints to prevent lateral movement
- Use polymeric sand in joints to resist washout
Regular maintenance extends patio life and catches small problems early. Inspect patios twice yearly for signs of settling, joint sand loss, or drainage issues. Address minor problems before they become major failures.
Keep joint sand filled to prevent water penetration to the base. Reapply sand every 1 to 2 years in high-traffic areas. Use polymeric sand that resists washout better than regular sand.
Drainage Maintenance Requirements
Clean edge drains and drainage channels annually. Leaves, dirt, and debris block water flow and force moisture under the patio base. Simple cleaning prevents complicated drainage failures.
Redirect downspouts away from patio areas. Water from roof drainage systems overwhelms patio drainage design. Move these concentrated water sources at least 6 feet away from patio edges.
Monitor changes in surrounding landscape grades. Settling soil near patios can redirect water toward rather than away from the patio. Adjust landscape grades periodically to maintain proper water flow.
| Prevention Method | Effectiveness | Maintenance Frequency |
| Joint sand replacement | High for water prevention | Every 1-2 years |
| Drainage system cleaning | High for existing drains | Annually |
| Edge restraint inspection | Moderate | Every 6 months |
| Sealing pavers | Moderate for water resistance | Every 2-3 years |
| Professional inspection | High for early detection | Every 2-3 years |
When to Call Professionals vs DIY Repair
Small areas under 25 square feet with minor settling might allow DIY repairs if you have proper tools. Rent a plate compactor, purchase matching pavers and base materials, and follow proper layer-by-layer reconstruction.
Large areas, multiple problem zones, or settling near structures require professional assessment. These situations often involve complex drainage issues or base failures that extend beyond visible symptoms.
Professionals bring experience that helps diagnose root causes accurately. They identify whether settling stems from base issues, soil problems, drainage failures, or combinations of factors. This diagnosis determines the correct repair approach and prevents recurring problems.
Equipment access matters for quality repairs. Professional contractors own plate compactors, excavation tools, and laser levels that ensure proper reconstruction. These tools cost thousands of dollars to purchase and require skill to operate effectively.
Material Selection Impact on Settling
Paver choice affects long-term stability less than base preparation, but some materials perform better in certain conditions. Dense, heavy pavers resist shifting better than lightweight options. The extra weight helps maintain position during minor base movements.
Interlocking paver designs spread loads across multiple units. When one paver starts to settle, connected pavers resist the movement. Non-interlocking pavers settle independently and create more pronounced low spots.
Comparing bluestone patio vs pavers durability shows that material density and installation methods both contribute to long-term performance. Natural stone pavers on proper bases outlast any paver type on inadequate bases.
Permeable pavers designed for water infiltration require different base specifications than standard pavers. The open-graded base in permeable systems allows water through but demands careful engineering to prevent settling.
Frequently Asked Questions
Why is my paver patio sinking in just one area?
Localized sinking typically indicates drainage problems or base failures limited to that spot. Water may accumulate there and wash away base materials. Tree roots, buried utilities, or inconsistent base compaction can also cause isolated settling.
Can I fix a sunken paver patio without removing all the pavers?
Minor settling under 1 inch sometimes allows repairs without complete removal. Remove only pavers in the affected area, add base material or sand to restore proper height, compact thoroughly, and reinstall pavers.
How much does it cost to repair a sunken paver patio?
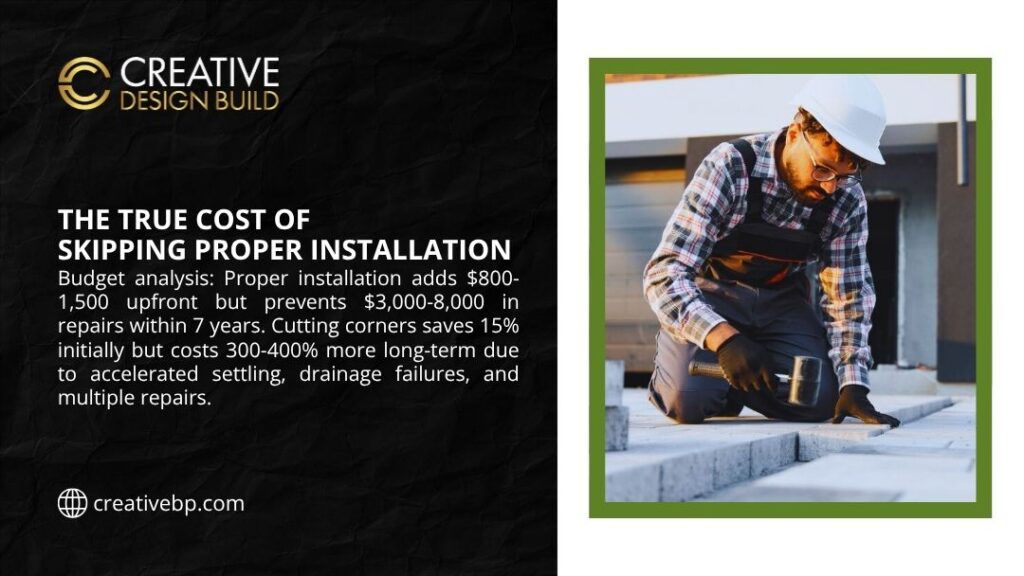
Small area repairs covering 25 to 50 square feet cost $500 to $1,200 for materials and labor. Medium repairs affecting 100 to 200 square feet range from $1,500 to $4,000. Extensive reconstruction can cost $3,000 to $8,000 or more depending on size and complexity.